Saturday, May 29, 2010

Thank You & Favors Sign

I did get around to buying the picture frames for these so I made them right away too.

Its just 2 inch chipboard letters painted with lilac acrylic paint and stuck to a sheet of green cardstock with glue dots. I added tiny round glitter stickers to each letter and stamped the corners with a stamp that is on most stuff that will be at the wedding.

Basically the same thing for the favor sign, but you'll notice that the letters are different. There weren't enough to spell out Favors with my first set of chipboard letters and when I went to order more, they no longer carried the same ones.
I'm not sure which letters I like better. These two signs will be pretty far away from each other so I'm sure no one will notice the letter difference...or care. I'm sure its just one of those things that bug me because I'm getting married. =)

I did manage to get all of my goals done on the checklist from last weekend and I also picked up the vases for the centerpieces. 

DIY Cardbox...with directions!

Once my DIY kick started, it went into overdrive. I completed the cardbox today and the favor sign earlier in the week. All that I have left for DIY is the paper projects, the invitations, menu's and programs.

This is the cardbox.
Top View:
Side View:
And now I'm sure you're wondering how I made it. I got kind of tired at the end and forgot to take some pictures but the steps are pretty simple.

Supplies:
3 nesting paper mache boxes
exacto knife
white wrapping paper
chipboard letters (2 inch)
chipboard flowers
chipboard numbers (2 inch) 
7/8 ribbon
glue dots
ruler
pencil
double sided mounting tape
acrylic paint
paintbrush

Instructions:
1. Paint the chipboard letters, numbers, and flowers with the acrylic paint. I had to do 3-4 coats on each before the paint stuck really well and made the color that I wanted.
2. Determine the size of the opening in the top boxs lid. I measured the size of a regular card and added 1/4 inch to each side to make it easier. I measured on the box to make it even and drew lines with the pencil. Then using the exacto knife, cut out the opening for the cards to go through.
3. The rest of the boxes don't need to be as precise. I didn't bother to really measure with them, I cut large enough holes that the card could fall through easily. Just make sure that the holes line up.
4. On the bottom of the largest box I made a few incisions into the box so it would be easier to open to remove the card. I basically made it to where it was almost ready to go through the box but not in the corners to give it more support. I'd assume that you could also find a piece of cardboard a little bit bigger than the hole and tape it to the bottom. Then just remove the tape and let the cards fall out.
5. Wrap each of the boxes with wrapping paper. Cut the wrapping paper and frame the holes for the cards to fall through.
6. I used glue dots to attach the ribbon to the boxes. I spaced them about 1 1/2 inches apart. Make sure that if you have boxes with lids that you put the ribbon down far enough to be seen.
7. Here is where I got tired and forgot to keep taking pictures after each step. I added the ribbon to each box with the glue dots. On the middle box I used glue dots to adhere the letters spelling out 'cards'. I used glittery circle stickers to add some shine to these.
8. Using glue dots, I adhered all of the flowers to the sides, top and front of the boxes and also used them for the Mr. and Mrs. sign. Since I would like to resell this, I only used glue dots at the top of the numbers and stuck it to the ribbon so they could be removed without ripping the paper.
9. To stick the boxes together, I cut one 4 pieces square of double sided tape into 8 pieces (cut each square in half) and stuck 4 of them around each layer of the box that needed to be attached. I lined up the box to go on top and slowly pressed down on it until it stuck. If your boxes aren't cut perfectly you might have some tape overhang into the area where the cards will fall. I didn't want to cards to accidentally get stuck so I just stuck a small piece of leftover paper to each exposed sticky part.

Its definitely not perfect, I am not the best box wrapper but I think that it will serve its purpose and maybe someone will even want to buy it.

Saturday, May 22, 2010

DIY Projects Galore

We were supposed to have our engagement pictures taken today at a park in Annapolis, but when I checked the weather last night it said cloudy and raining starting at 10 AM and continuing for the rest of the day. We decided to reschedule for June 12th.

Since I got all of my cleaning done on Thursday night, I have absolutely nothing to do this weekend. We went to the grocery store earlier and I got a sudden buzz of wedding DIY projects. I knew I couldn't really do anything paper-related until we cancel the winery and talk to Tom's brother to find out about foods, so I went a bit overboard with every DIY project non-paper related.

This post is just going to show the pictures of what I've done. I'll create separate posts to include the directions. 

Bridesmaid Bracelets

I think its been over a year since I started this project. So far, of all DIY projects, this has been my least favorite. Making jewelry is not easy. It took me 4 or 5 tries to get the first bracelet right and then I still had 6 more to go. So, I stuck it on the back burner for quite a while but I finally finished them today.

I had thought about making necklaces too (since I have so many pearl beads left over) but after making one for the flower girl, I'd had enough.

Stamped Napkins

By far, this was the easiest DIY project either. Package of paper napkins, ink pad and a stamp. Press stamp in ink, press stamp on napkin, move napkin out of the way, repeat. I made 200 of them today, 100 green and 100 white. I plan on putting some of them on the cake table and some on whatever table we are going to use for appetizers.

We Do Letters

I held off on doing this project because I thought I would need sandpaper for the letters, but I tried painting the backs of them today and found out that I didn't really need it, except for the letter W. Living in the middle of no where stopped me from running out to buy sandpaper and figured I would just see how the letters looked after a few coats of paint. I accidentally painted one of the letters purple before remembering that we wanted these in silver. Oops. So once the purple dried I added silver on top of it and it made a really neat color. Two more coats of silver on each side and in the insides and backs of the letters and I was finally done.
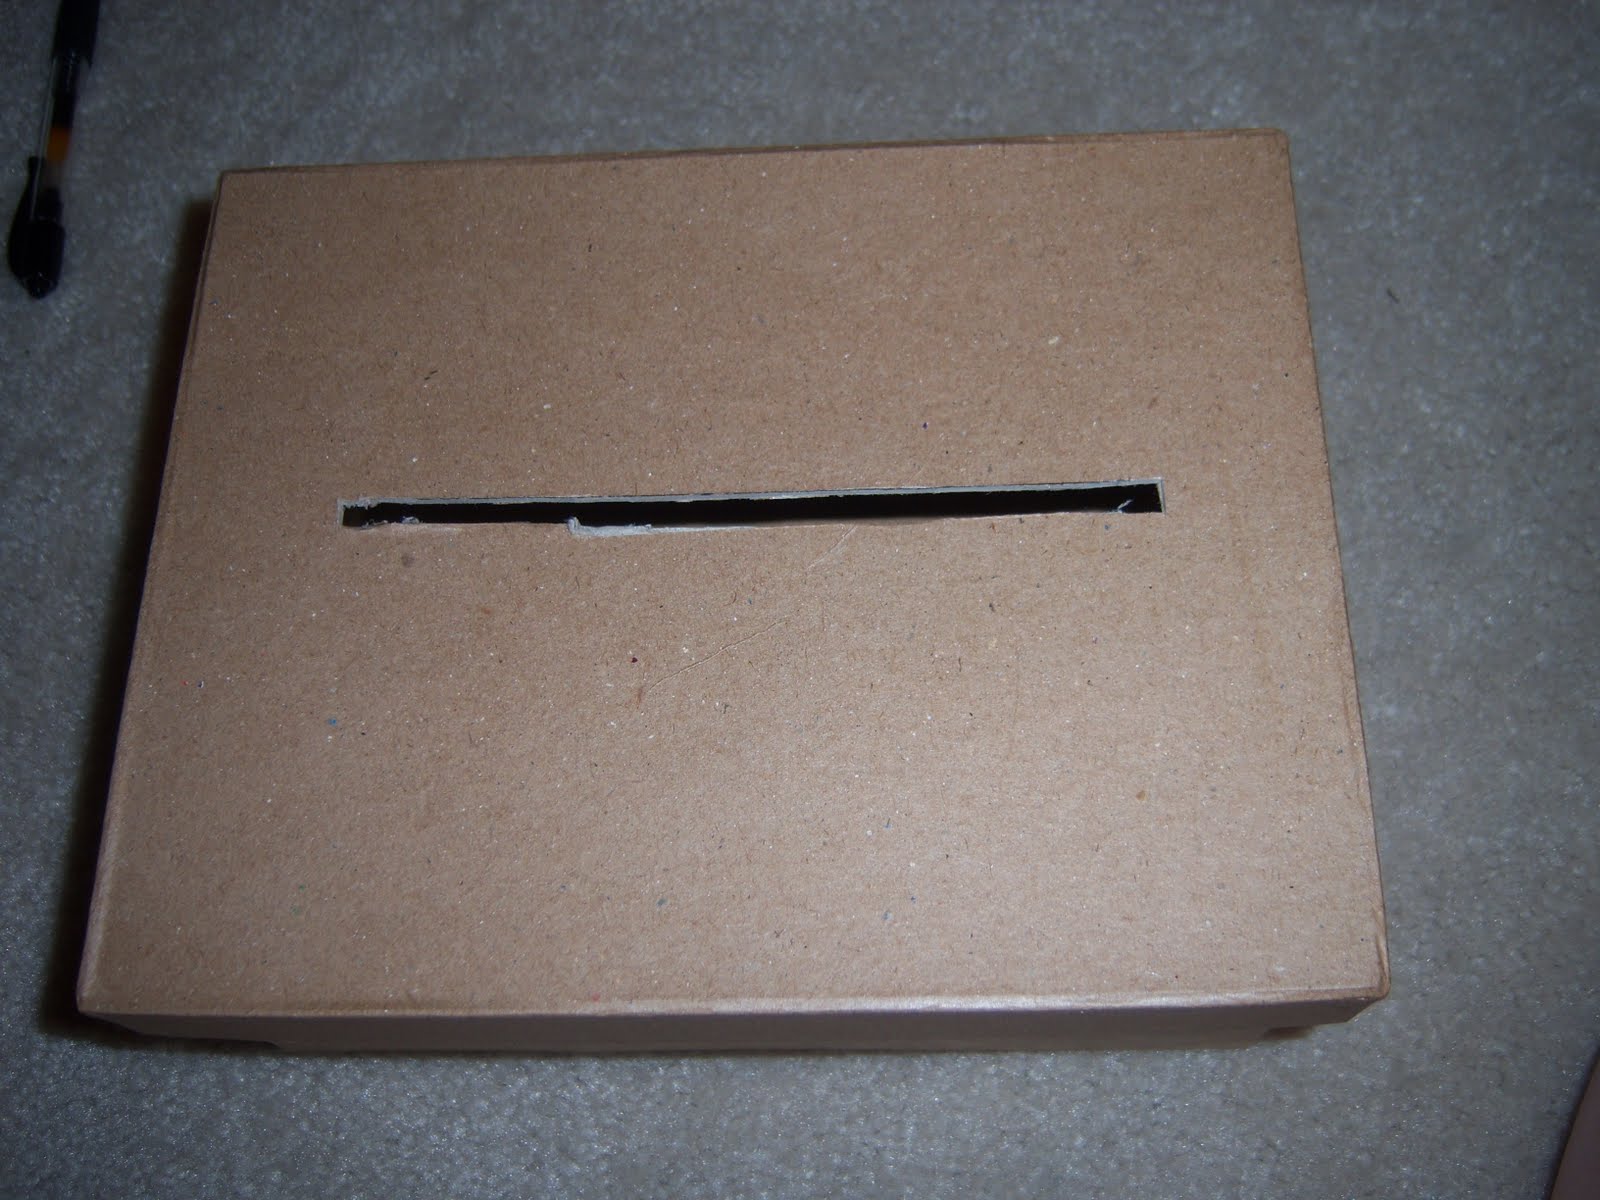
Card Box Pieces

I bought 3 paper mache nesting boxes from Joann.com a while ago. My idea is to wrap them in silver or white wrapping paper and use chipboard letters to spell out Cards and Thank You. I also found chipboard numbers and thought it would be neat to have the date on the box as well. I painted the chipboard letters purple and then found out that the words Thank You were too big to fit across the largest box. So, I came up with my next idea.

Thank You and Favors Sign

On a sheet of green cardstock, I used glue dots to adhere the Thank You letters. Then using the same stamp as on the napkins, I stamped the two bottom corners of the cardstock. I'm going to buy a silver frame and have it sit next to the card box. I plan on doing the same thing for the favor sign, but for whatever dumb reason, the chipboard letters only came with one r and one s. I ordered more and once they get here I'll make the favors sign.

Earlier in the week I was browsing on Etsy.com and ended up finding two things that I really wanted. The model wearing my wedding dress is wearing a 3 strand white pearl necklace with a rhinestone brooch attached on the right side. I've searched everywhere for this necklace and I can't find it in my price range. I even purchased a 3 strand pearl necklace and a brooch to attempt to make it myself, but that didn't go over so well. I found a seller who said that if I provided her with the brooch the necklace would only cost $35. I had to take her up on that offer. I just mailed her the brooch the other day so I should see what the necklace looks like soon. I can't wait! The other item that I bought are pomanders. Since the restaurant doesn't really look like a wedding venue and doesn't have an aisle, I knew I wanted to find some way to create that. I found a seller who makes tissue paper flower balls. For $33 she is making me 12 of them. 6 in purple and 6 in green. I'm going to attach ribbon to them and hang them off the chairs to create an aisle.

My goal for this weekend:
- Buy 2 8x11 silver picture frames for Thank You and Favors signs
- Buy silver or white wrapping paper
- Make table numbers
- Change the directions and map card on the invitations for the new venue
- Order more precut invitations from cardsandpockets.com

Goals to be completed by the end of June
- Cancel the winery
- Book the limo
- Book the hotel room
- Print new copies of the invitations
- Order the vases for the centerpieces
- Let all vendors know about the changes
- Pick 2 entrees from the restaurant menu and find out price
- Print all invitation pieces
- Assemble invitations

Goals to be completed by the end of July
- Address all invitations
- Mail invitations
- Print menus
- Print programs
- Find a DJ
- Have all bridesmaid dresses and groomsmen tuxes order
- Decide on readings and write ceremony and vows
- Pick out music for ceremony and reception
- Schedule dress fitting
- Finish purchasing bridal party gifts
- Have hair and make up trial
- Get marriage license

Goals to be completed by the end of August
- Create seating chart
- Create escort cards
- Print monograms for favor boxes
- Create a day of timeline
- Make cardbox

Well, it looks like I'm going to be pretty busy these last couple of months, which is exactly what I didn't want to happen. I wanted to have practically everything done by the beginning of June so I could just be lazy and sit around waiting to mail the invitations. I'm off on next Friday and then on Monday for the holiday so hopefully a 4 day weekend will give me some time to get even more stuff done! Wish me luck!!

Monday, May 17, 2010

4 Months Left

Wow. I know it has been a while since I last posted, but I took a huge wedding planning break. Now I feel like I'm really, really, far behind and need to scramble to catch up. I looked at my list last night and freaked out a little bit. There are things from March that I haven't done yet!!

One of the reasons for things not getting done, is we are debating on changing our venue now. T's brother has offered us his restaurant. It will save us $800 by not using the winery. We're also getting food and drink at cost, which is less than the caterer. We won't need linens, plates, utensils, chairs, tables, glasses and some of the decor stuff. So I kind of halted.

I needed to get the logistics right in my head before we cancel the winery. I think I finally have it figured out (with the help of my September knotties!) and now I'm ready to move forward. The part that sucks is that I already printed the invitations. I'll need to order more cards and print everything again, but I'm not too concerned. At least I didn't print out the entire invitations sets, that would be crazy! I'd also like to visit the restaurant again to make sure that the floor plan in my head is really going to work out and we need to decided on which foods from their menu we are going to serve. I'd still like to give guests the options on the RSVP card so the restaurant has an idea of what they need to make.


So until we get that done, I'm a bit stuck. Here is the off-the-top-of-my-head list of stuff that still needs to get done.
  • Cancel winery in writing.
  • Contact all vendors to change location.
  • Engagement pictures next weekend.
  • Order invitation pieces. 
  • Print invitations. 
  • Assemble invitations. 
  • Find a DJ.
  • Pick music.
  • Plan ceremony. 
  • Answer a huge list of questions from officiant. 
  • Have meeting with officiant. 
  • Contact baker and see if we are doing a tasting. 
  • Find out if the baker has a deposit fee and pay if applicable.
  • Order candles and vases for centerpieces. 
  • Possibly tell the florist that we'll need more flowers for centerpieces. 
  • Finish bridesmaid jewelry.
  • Make card-box.
  • Find bridal necklace.
  • Book honeymoon.
  • Visit and book limo, after talking to photographer about logistics.
  • Book hotel to get ready. 
  • Have hair and make up trial. 
  • Finalize food with caterer. 
  • Bridesmaids order dresses. 
  • Grooms get tuxes.
  • Paint We Do letters.
  • Decide on if we are having a rehearsal dinner. Plan if necessary. 
  • Find free weekend for probable surprise shower.
  • Find free weekend for bachelorette party. 
And then all of the other fun stuff like getting a marriage license, making a seating chart/escort cards, fittings for the dress, final hair cuts, etc.

Typing it out makes it worse. Now I'm really anxious. Gah! =(

I'll update again soon!