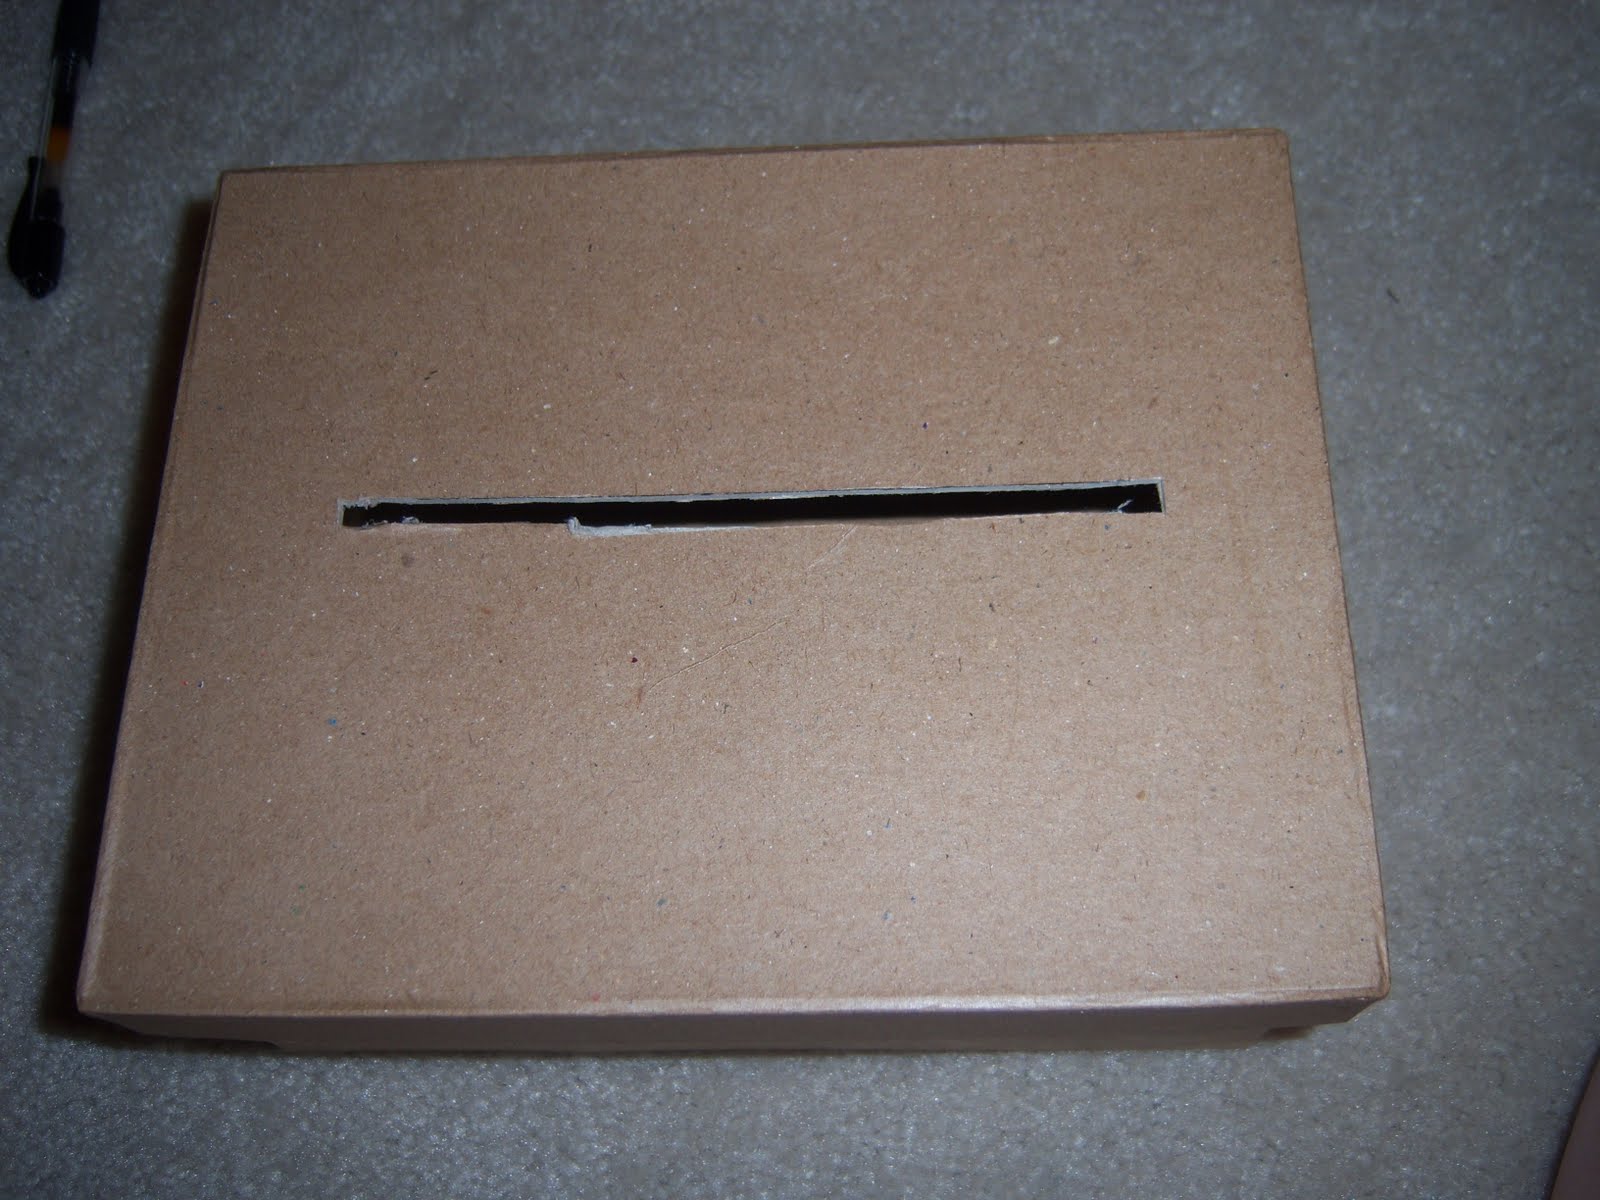
This is the cardbox.


Supplies:
3 nesting paper mache boxes
exacto knife
white wrapping paper
chipboard letters (2 inch)
chipboard flowers
chipboard numbers (2 inch)
7/8 ribbon
glue dots
ruler
pencil
double sided mounting tape
acrylic paint
paintbrush
Instructions:
1. Paint the chipboard letters, numbers, and flowers with the acrylic paint. I had to do 3-4 coats on each before the paint stuck really well and made the color that I wanted.
2. Determine the size of the opening in the top boxs lid. I measured the size of a regular card and added 1/4 inch to each side to make it easier. I measured on the box to make it even and drew lines with the pencil. Then using the exacto knife, cut out the opening for the cards to go through.

5. Wrap each of the boxes with wrapping paper. Cut the wrapping paper and frame the holes for the cards to fall through.


8. Using glue dots, I adhered all of the flowers to the sides, top and front of the boxes and also used them for the Mr. and Mrs. sign. Since I would like to resell this, I only used glue dots at the top of the numbers and stuck it to the ribbon so they could be removed without ripping the paper.
9. To stick the boxes together, I cut one 4 pieces square of double sided tape into 8 pieces (cut each square in half) and stuck 4 of them around each layer of the box that needed to be attached. I lined up the box to go on top and slowly pressed down on it until it stuck. If your boxes aren't cut perfectly you might have some tape overhang into the area where the cards will fall. I didn't want to cards to accidentally get stuck so I just stuck a small piece of leftover paper to each exposed sticky part.
Its definitely not perfect, I am not the best box wrapper but I think that it will serve its purpose and maybe someone will even want to buy it.
No comments:
Post a Comment